Hey Everyone!

So here I am stuck in bed, feeling a bit unwell. I decided to finally check off my first attempt at any kind of nail art and hey, I’m actually pretty proud of myself! I decided to do soft pastel roses. Well, it turned out that way anyway. Truth be told, I kinda wanted to do something geometric until I put a giant blob on my thumb nail and decided that it was more round than square. I guess magic things happen when you make mistakes.
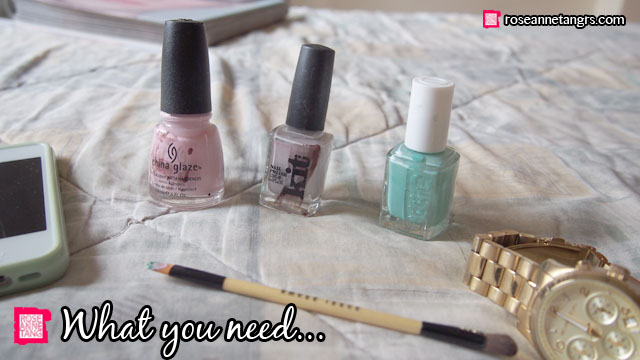
I’m not good at using toothpicks, so instead I rummaged for an “in-package” brush. I took this one out of my bobbi brown palette since I end up losing or throwing them away anyway. It was a good find since it’s a synthetic and a seriously flat paddle brush which was perfect. I used three colors – a pastel pink or China Glaze “Something Sweet”, a pastel purple like Kit Cosmetics “Free Fall” and a mint green like Essie “Turquoise & Caicos”.
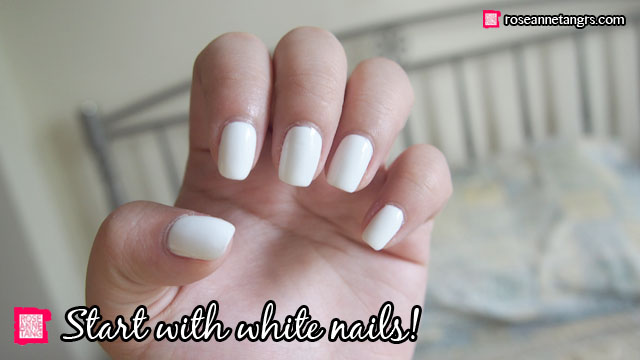
I got a manicure the day before at Far East with totally white nails which kind of was the perfect back drop to doing my DIY pastel roses. I know, you’re probably saying – oh my gosh Roseanne, what if you make a mistake and waste your manicure? Well, I kinda got this manicure only because I wanted to soak off my previously gelish nail polish and we should all be experimental sometimes. White nails are the bomb though, so sleek and clean looking just on its own.
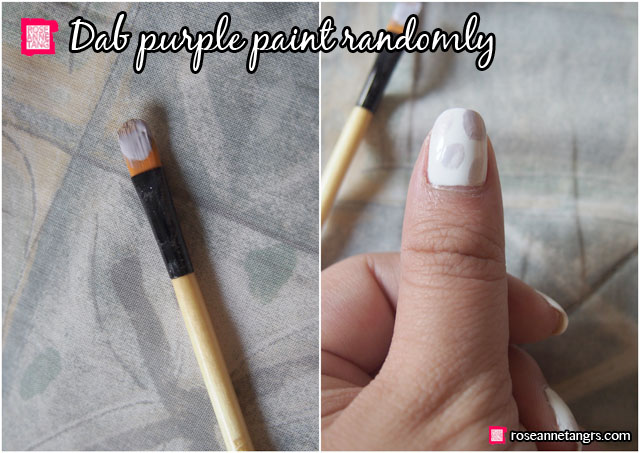
First step is to take your paddle brush and get some purple paint to it. Using pink and purple is going to give your roses dimension and mimic the natural shadows that the overlapping petals have. Just use your brush to dab it on lightly. Don’t need to be perfect and it’s good if it’s not a thick layer too.
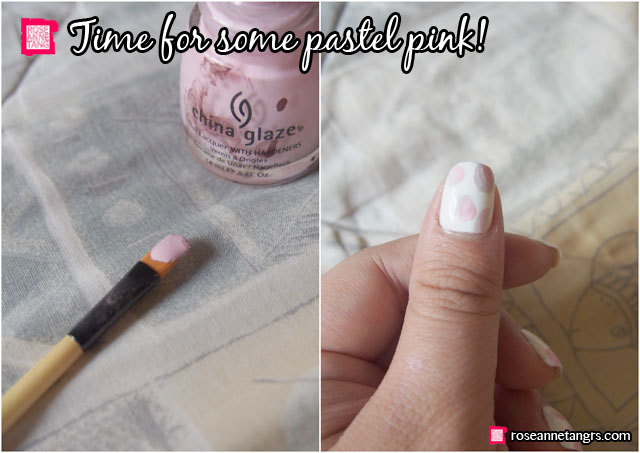
Then, use the other side of the brush and get some of the pink nail polish and dab that just slightly out of the purple, not completely overlapping it. I’m using the same brush because I kind of don’t want to ruin another!
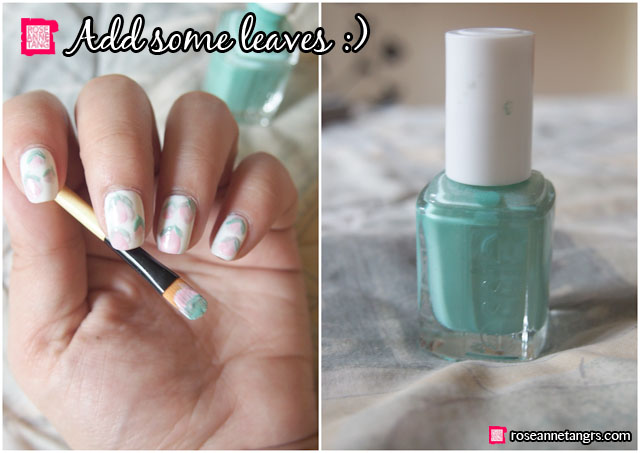
Of course all flowers have leaves so take some mint green nail polish onto the edge of your brush and then press the leaves in using the tip of the brush. Apply it like the leaves are just embracing the flowers – two to each flower at an angle.
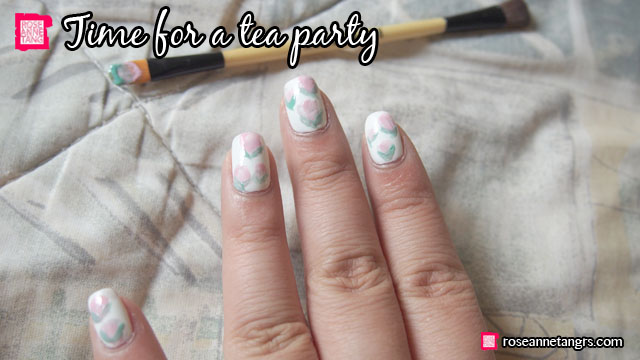
And girl, you are done! How easy was that right? They’re super pretty too! Hope you liked the tutorial. Just wanted to tell you all that there’s a Benefit Do the Bright Thing makeup kit giveaway on my online store’s fb page at http://www.facebook.com/roseanne.sg :D Go check it out!
Have a good mid-week!
Love,
Roseanne