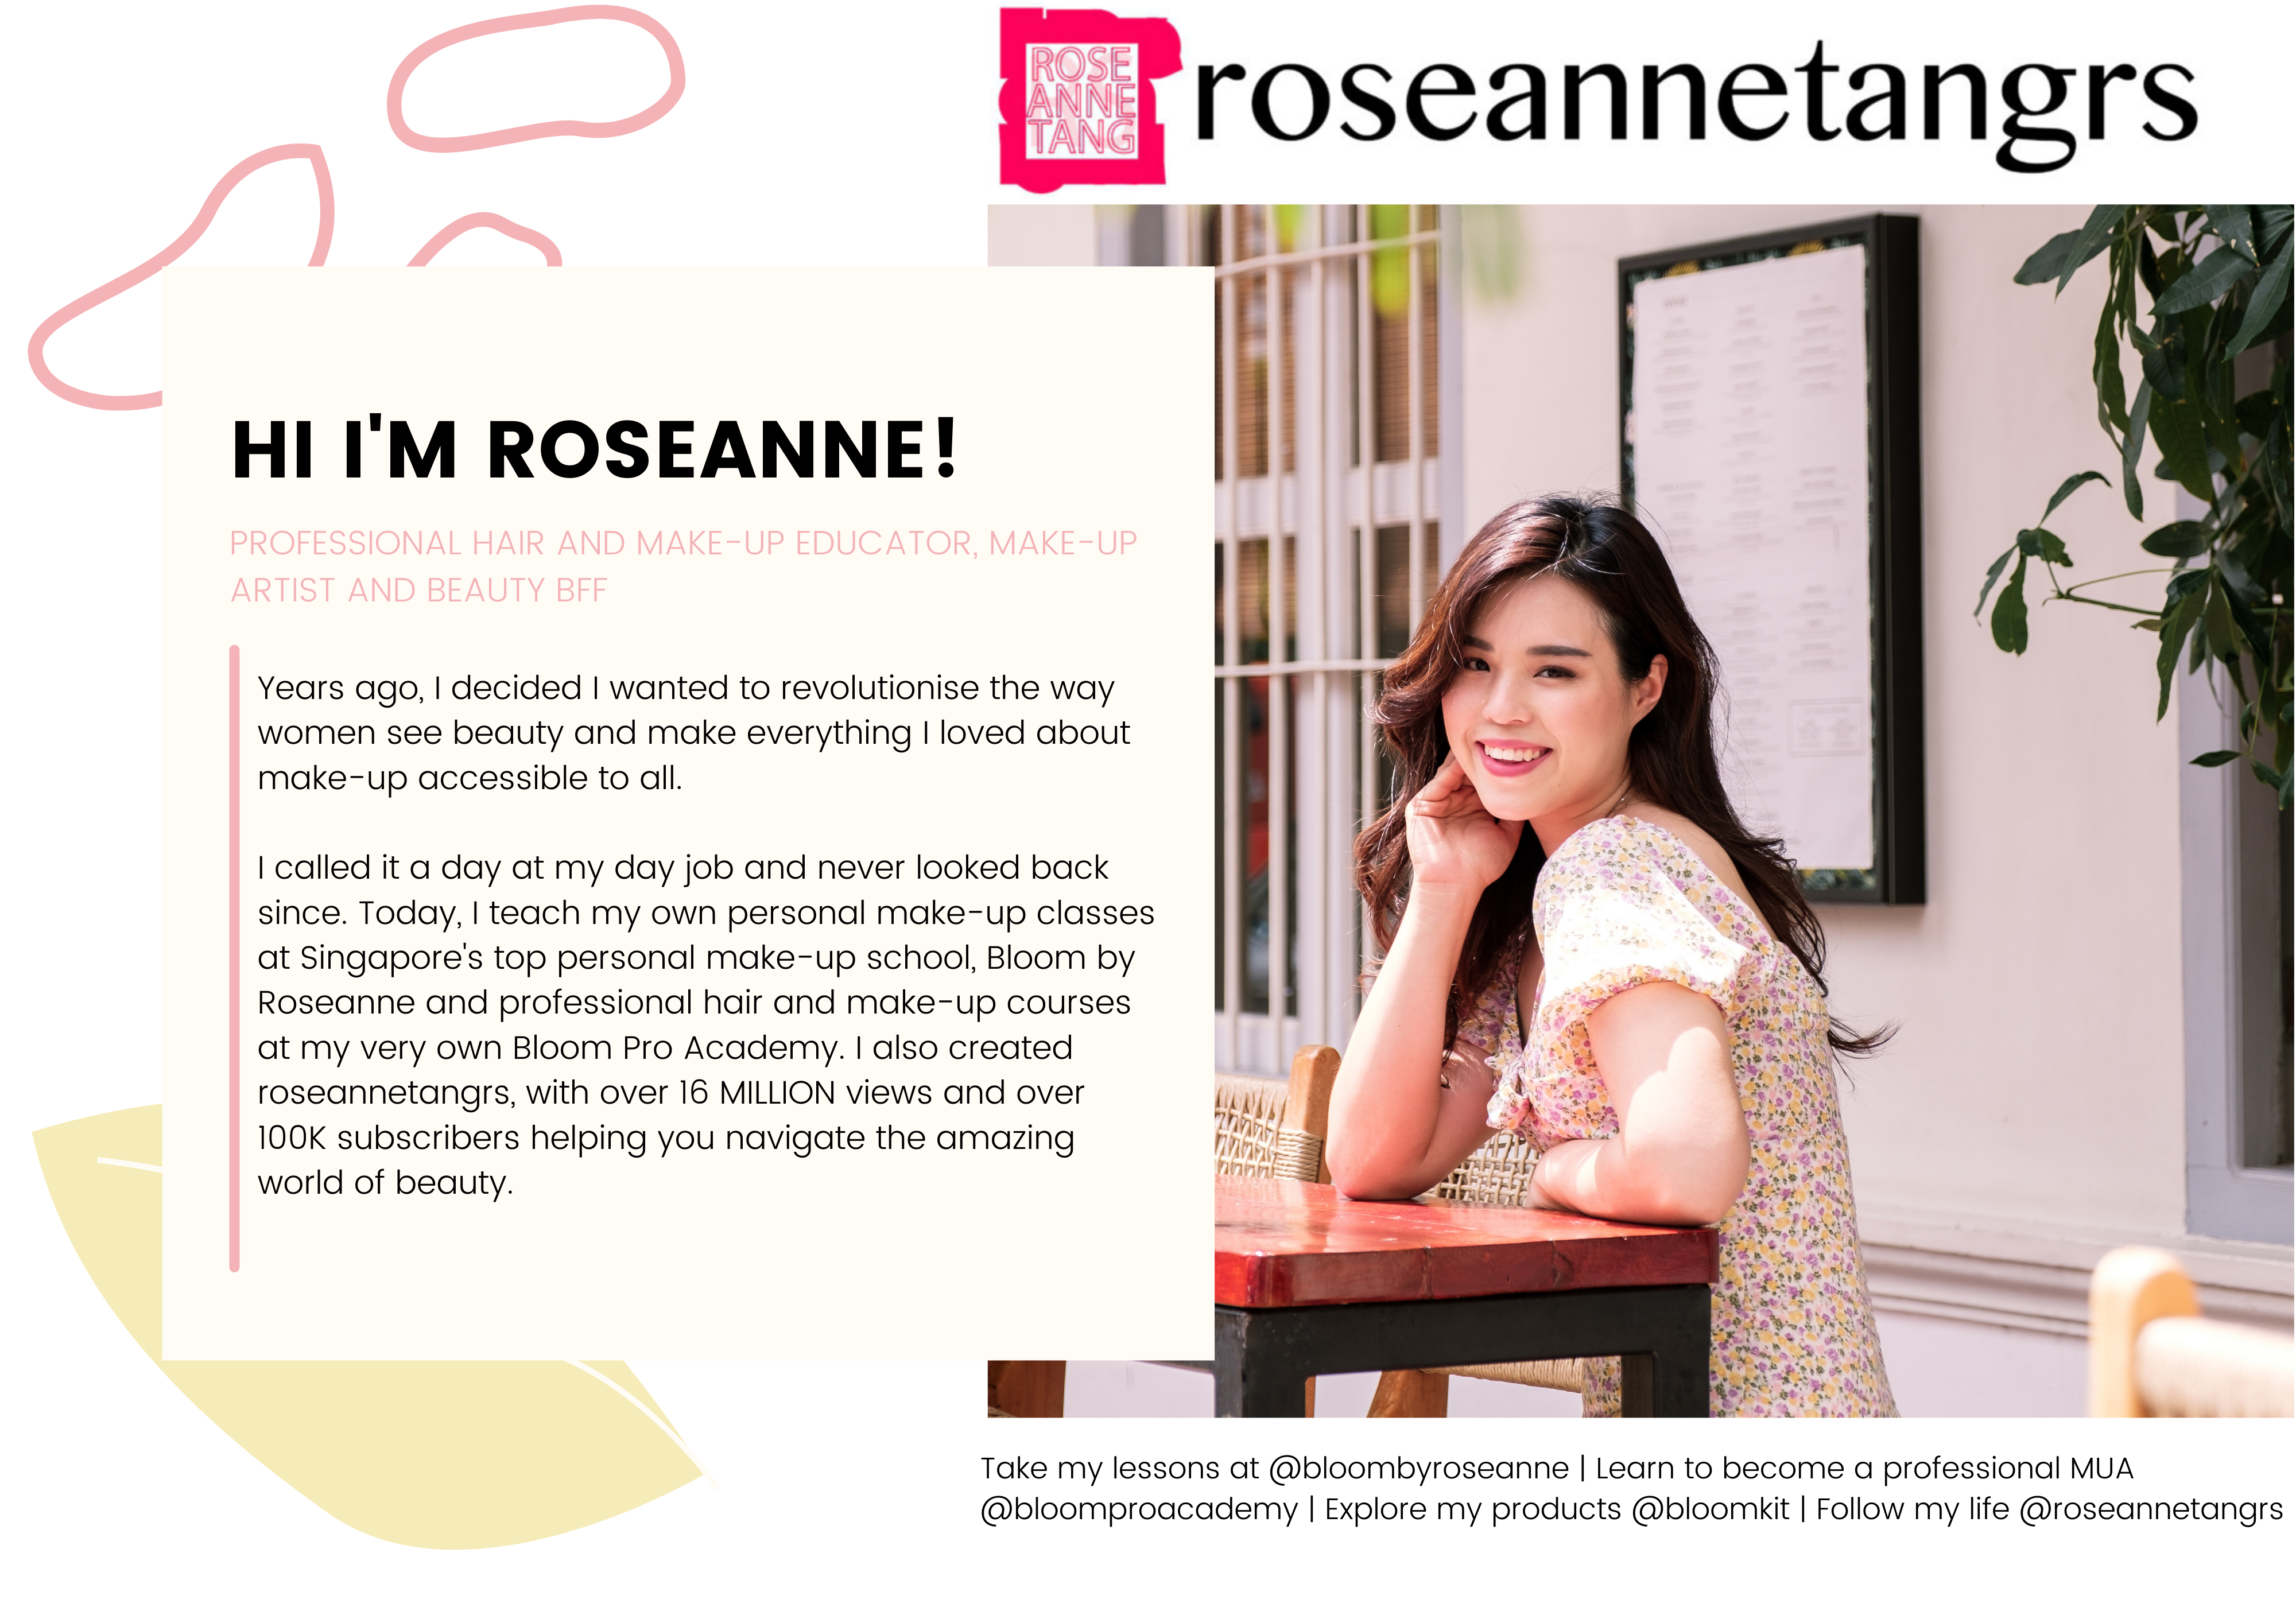
Hey Everyone,

I remember when I Iearnt to contour, highlight and apply my blush, I knew that it would be a step I never wanted to miss. Contouring and applying that bronzer adds a certain warmth to your look while being able to slim down your features without the surgery, blush gives a healthy radiance while the highlight attracts a muted glow to the areas you want shining in the spotlight.
Check out my video if you’re too lazy to read :p
So, how do we go about doing this? It’s really simple actually. It’s all about the placement and finding out which areas work best for you. Remember always, to blend, blend and blend!
1. Contour:
We all want slimmer features and thank the lord, makeup makes this possible.
Choosing the right Bronzer:
You don’t specifically need a bronzer, you can also use a powder that is two or three shades darker than your skin tone. Also make sure that the color is right for you. Matte bronzers on darker toned people tend to look gray and ashy so opt for a little shimmer like the NARS Casino/Laguna but make sure it’s not over the top or you could be achieving the opposite effect. Be careful to observe the undertone of the bronzer you have chosen. Make sure it’s the kind of brown that suits your skintone color. Too orange – and you could look like Snooki or any other celebrity with a fake orange tan – while too-pink-for-you kinda bronzer may make you look a little gray. Be careful. Don’t be intimidated though, it’s not that hard.
Choosing a good contouring brush:
You want to go for a smaller brush. A lot of people like to use an angled brush, I like to go a little more specific and use a round small brush like the MAC 109. Anything that fits into the hollows of your cheek is game though and you might want it also to be slightly fluffy in case you put a little too much.
Okay, so where do I put this stuff.
You want to follow an “E” shape. Top of the E being the temples, the middle being the hollows of your cheek, down to the jawline, connect the points and buff. Just remember, you want to contour your face where the light doesn’t go..the dark side basically. Emphasising these areas makes your face naturally slimmer. Score!
Remember to buff your bronzer in so that the harsh lines disappear and if you are using a powder bronzer, make sure you have powdered and set your foundation to avoid any stain marks. Those are never fun.

2. Blush
This is my ultimate favourite part of my whole makeup routine. It makes such a difference to any look and it’s the best midday pick me up… well appearance wise at least. I always keep a blush handy with me in case it fades.
Choosing the right color:
Just like bronzer, it’s important to pick the right color for your blush. Observe your undertone – are you yellow or pink? Then you can choose your blushes accordingly. If you’re yellow, stay away from cool toned blushes that may make you look a little blue gray, and that’s icky. If you’re a darker skin tone, peachier blushes look better than the cool toned pinks, and you might even wanna try a light dusting of fuschia. It matters so try it at the store before you make your next purchase.
Choosing the right tools:
Blush is pretty simple right, just put it on the cheeks they say. I honestly don’t like using a standard blush brush, standard being the size of the MAC 129 because I like to be careful with my blush placement. I feel like I have no control if I just sweep that standard brush all over my cheek so I love opting for something smaller like the MAC 116 shown below. With this baby, I can specifically place my blush where I want to in a patting motion, granted the blush isn’t super pigmented mind you. If you have the shimmer brick or blushes that need buffing upon application, something fluffier like the MAC 168 angled white hair is best.
Now where do I put it?
Alot of people just like to concentrate on the apples of your cheek, but that doesn’t look as good as taking a step further. I like to place it just on the edge of that apple, towards the bottom half of the apple and then working it towards the upper tip of my ear. Of course not all the way but to the place it seems right. You should have a fat sideways tear drop shape above your contour:

See how I’ve worked it upwards? It can contour while add that rosy glow. Don’t you just love 2 in 1s?

3. Highlighting:
I used to hate highlighting because I thought I had oily enough skin that I didn’t need the added shimmer and if you’re thinking the same thing, you might want to give highlighting a second chance. Highlighting makes things protrude while contouring sinks features in. Anywhere the light hits first should be highlighted.
Choosing the right highlight:
Color is still important here. If you’re yellow undertone, stay away from those blue or silver encrusted highlighters and go for something either neutral or with a little bit of gold, like the NARS albatross. Never go for an ultra shimmer, look for something in between.
Choosing the right brush:
If the brush can fit on the top of your cheek bones and can do a good job on your nose bridge, it’s small enough. You want a small one, specific application is key. Of course if your highlighter is a pen highlighter, cream, or liquid..then use your fingers.
Where to highlight:
Well again, where the light hits. Say yes to the top of your cheek bones..

and the bridge of your nose, brow bone, tip of your chin…and you might also want to try your cupids bow on your lips and perhaps also the middle of your forehead granted you don’t have extra oily skin.

and then Ta-Da! You are done baby. I remember the first time I did this, i was like HELL YEAH. The secret to the universe. Well, not really. But I sure was one happy camper.
 If you have any questions or your own tips to contour, highlight or apply your blush, or you just want to give me a pat on the back for taking a few hours on this (heh) then leave your comments in the comments section below!

*photo credits: I just edited the picture, added the drawings and text…the picture of the model belongs somewhere..on the web.
xx Roseanne