Hey Everyone!
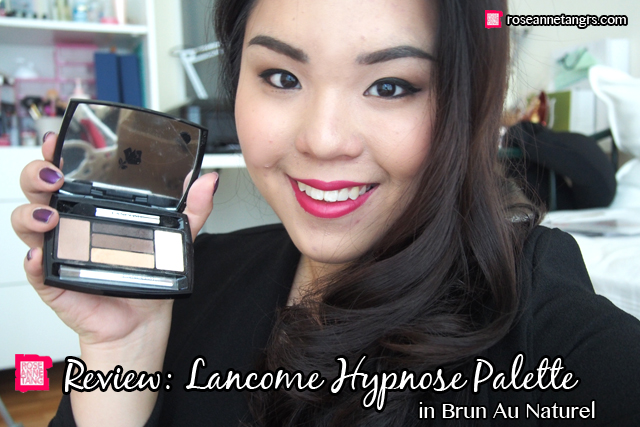
Today I’m going to be doing a review and tutorial of a gorgeous eye palette – the Lancome Hypnose Palette Star Eyes in Brun Au Naturel! I have been loving this lately and I also have another shade in Taupe Au Naturel. They give the prettiest and most naturally enhancing eye looks in a simple compact form that is easy to carry to work or wherever you’re headed!
The palette boasts an innovative “wet” eyeshadow technology that allows the shadow to have a range of intensities with a multi dimensional and even texture! They’re pigmented and although they have matte shades, they aren’t chalky which is really important. The palette comes with 5 colors that you can use for day to night make-up and two types of applicators which do come in handy on the go.
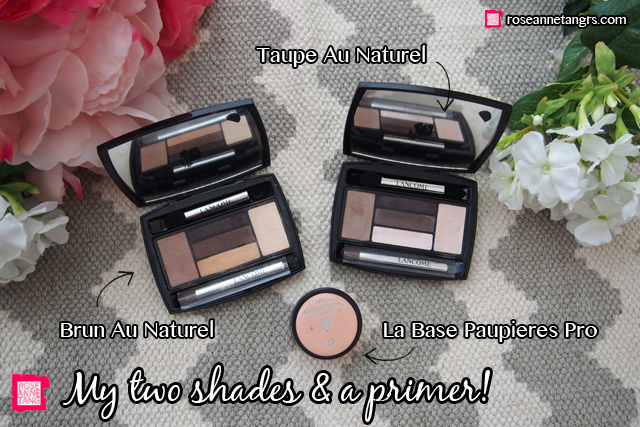
I have two shades – Brun Au Naturel which is a warmer set of shades and Taupe Au Naturel which is a cooler set of shades with pink and grays as the main motif. I like two but I’m gearing towards Brun Au Naturel because I am a warmer skin tone.
So let’s put this on! I am doing a standard daytime smokey eye. In my last pic of the tutorial, I didn’t show you my eyeliner and eyebrow technique just because I want to focus on the shadow so depsite my small eyes, you’ll be able to see it.
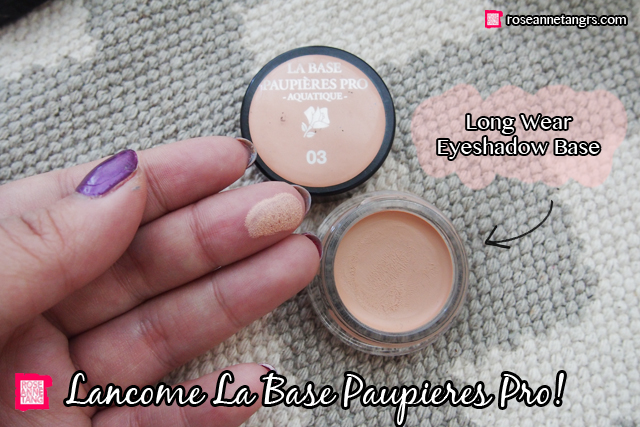
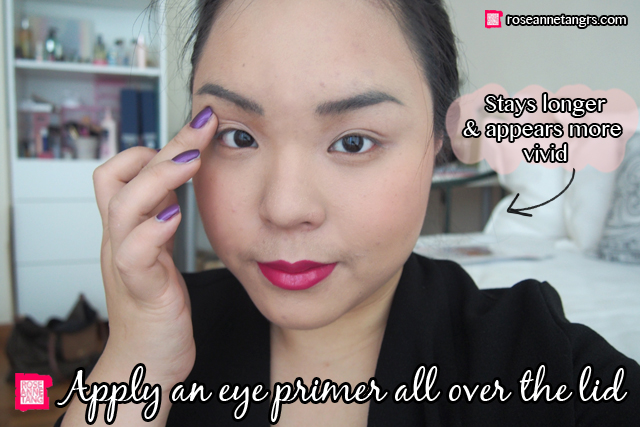
The first step I’m going to do is of course prime my lids. I’m using the Lancome La Base Paupieres Pro which is their long wear eyeshadow base. I find this really convenient as I can use my fingers and it’s sort of the same finish as a cream eyeshadow. I really love this and I’m in shade 03!
Priming your lids is really important because it makes the eye-shadows stick to your eye so they last longer, prevent it from creasing immediately and the shadows become lots more vivid because they have a base to stick to.
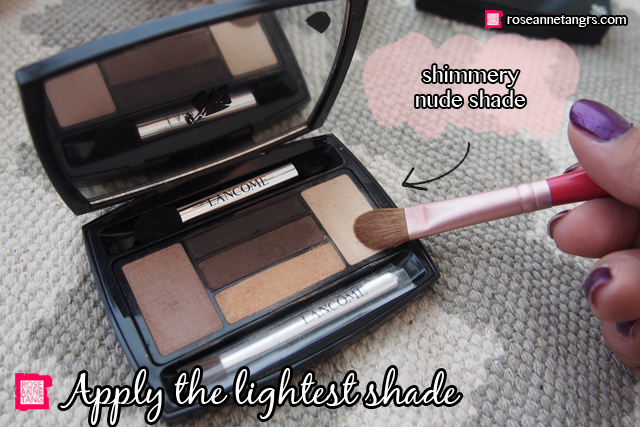
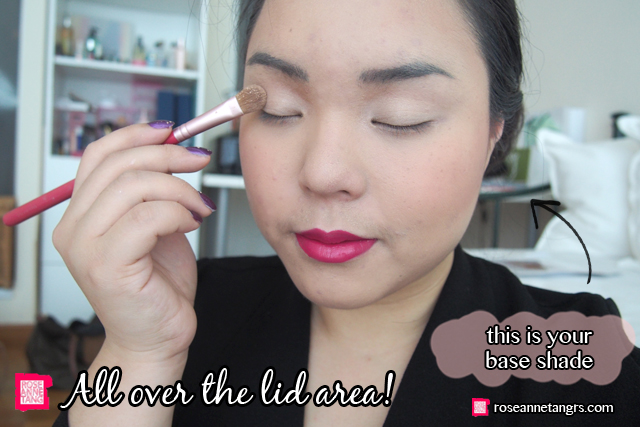
Eye-shadow is really simple, you just have to know where things go! So first I’m applying a base shade all over my eyelid. I’m using the lightest color in the palette and sorta mixing it with the gold so I get a nice warm base shade but not too gold.
Apply this all over the lids with a paddle shadow brush. This will set the stage to my whole eye look.
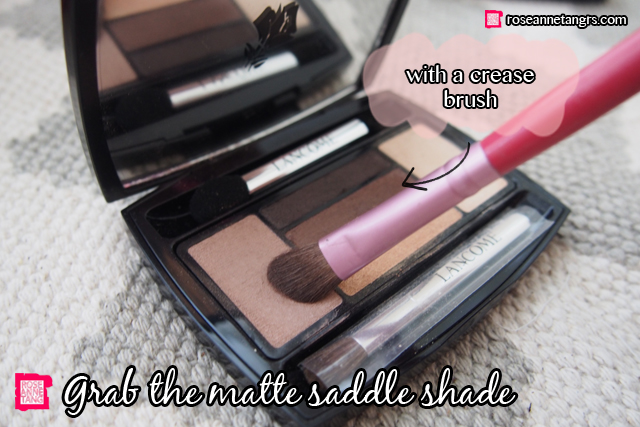
Next I’m grabbing the matte saddle shade in the palette with a crease brush. I always like to balance my shimmers with a matte color in the crease to soften and tone down the look. It really works!
I’m applying this into my crease or socket area. It’s not where you eyelid creases by the way. Even single eyelid people have creases. It’s the gap between your eye-ball and eye bone. That small little dip is your crease. Apply this color halfway into it, but for sure not all the way!
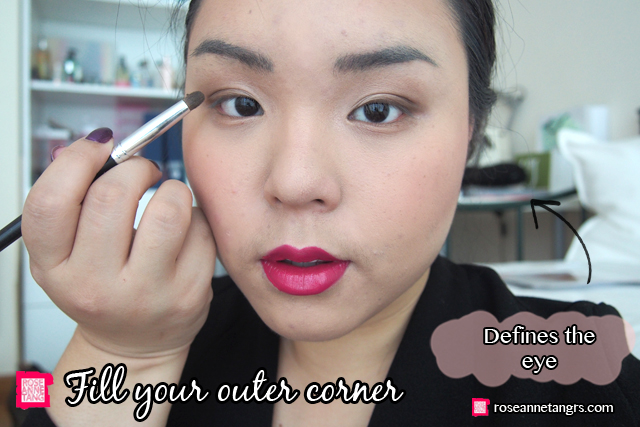
Then pick up the chestnut brown color and we’re going to apply this in the outer corner! As you can see, I’m using a pencil brush to do this because I want to apply color specifically into a certain area.
I’m going to shade it into the outer corner which is of course the outer corner of your eye. I’m shading it in to blend it into the eye so there are no harsh lines. It’s all about playing with light and shadows.
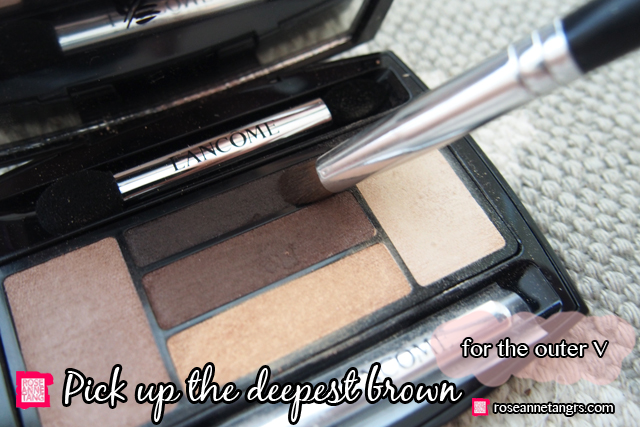
After that, pick up the darkest shade of the palette and we are going to just define the entire look with this.
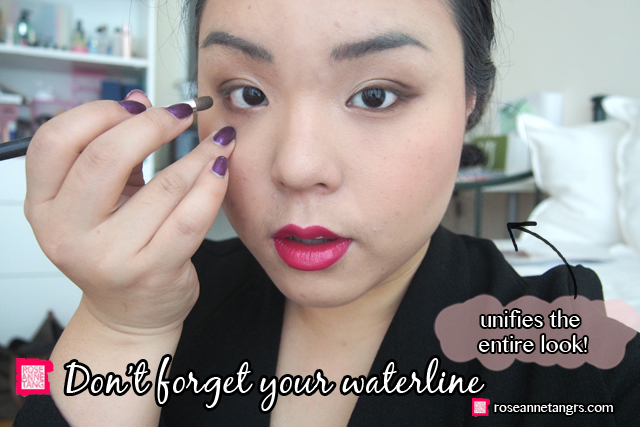
I’m adding to my outer V so it enhances the eye even more and I’m also adding it to my waterline. Adding it to the waterline unifies the entire look and makes it look more finished!
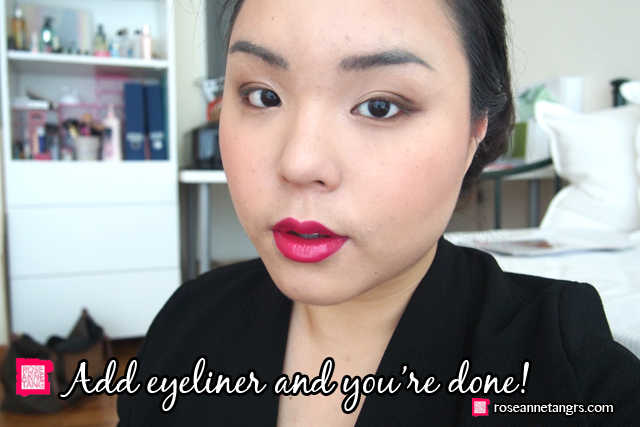
You’re basically done! Of course you can add eyeliner to the mix like I have done in my first few photos or leave it like this! As you can see the eyeshadows are really pigmented and pretty and the combination is perfect.
I really hope you like this tutorial! It’s for sure a palette worth looking into at the Lancome counters!
Much love,
Roseanne
