Hey Everyone!
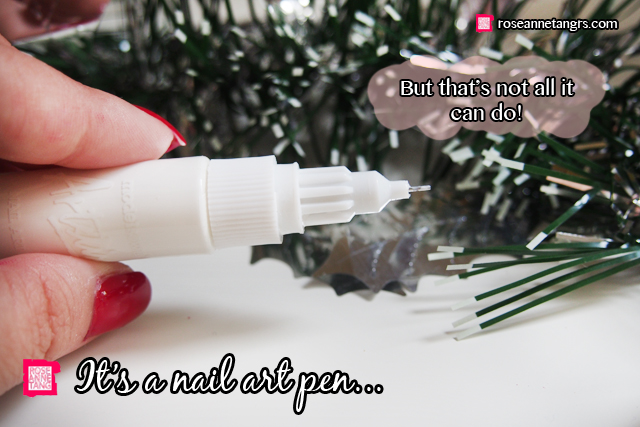
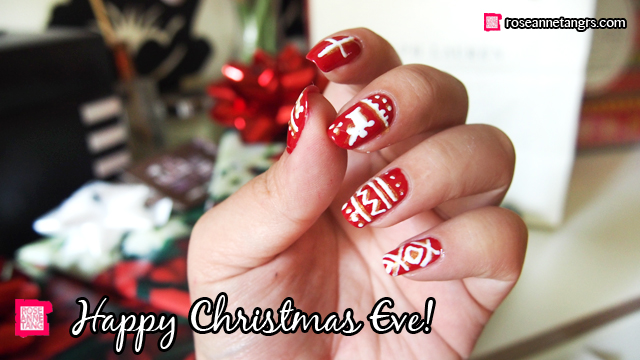
I woke up this morning and decided to do my nails. It’s Christmas Eve! I’ve seen so many people with these Christmas sweater nails and I fell in love with them at first sight. I could have gotten them done at a salon but who knows how much that would have cost me. So last night before dinner when I was waiting for Jacob to hurry up and park the car, I saw these babies at Guardian. They are the Model Own Nail Art Pens. I initially spotted them as stripers because I opened the cap and saw the thin brush but soon realised that they can be used as pens too. I’ve been looking high and low for these. I do own nail art brushes and pens without the paint but they are so difficult to use. I quickly grabbed three colors – the gold, white and black and took them to the counter. They were $17.90 each which was a bit of a hefty price tag but since I spent hundreds on Christmas presents already, I was like..hey let’s just do it.
I really don’t regret it too! As you can see if you pop the top open, you get a decent pen. It’s not an extra fine tip or anything like that but it does do the job. You just have to be careful because it can get quite tough to control the amount of ink that comes out so have a tissue on hand to wipe away the excess and practice a little first to get the hang of it.
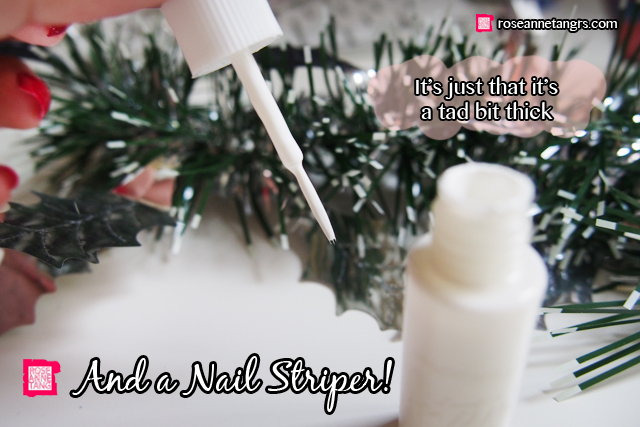
If you screw the top open, you get a nail striper or thin nail brush which is convenient for creating wispy strokes. I find the width a little too thick to create precise lines and find the pen much easier to use. You have to wipe away the excess paint on the sides of the bottle and to shape the brush so that it becomes a finer tip as well.
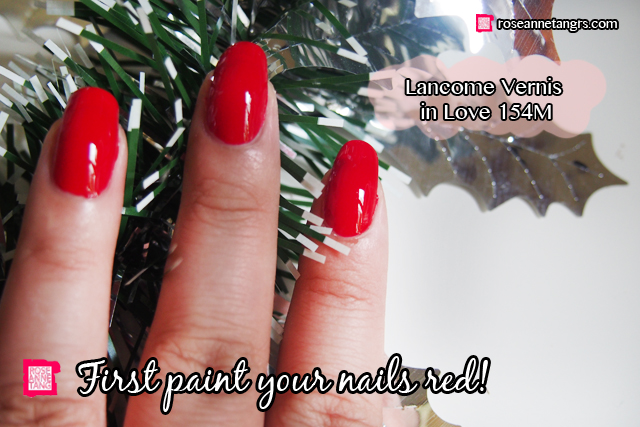
To create my DIY sweater nails, first paint your nails red. I’m using my fav nail polish of all time – the Lancome Vernis in Love in 154M. These have a wide and smooth brush that makes painting very easy so it’s hard to make mistakes.
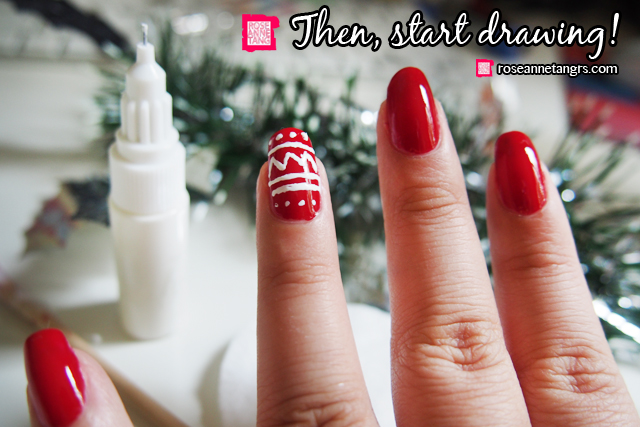
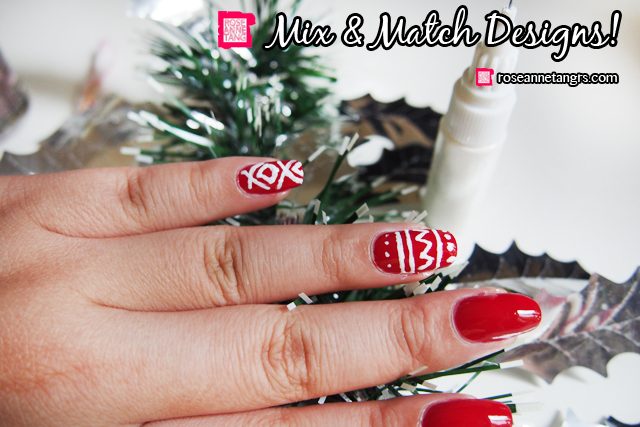
Then get drawing with the pen! I started off with lines, zig zags and dots just like a Christmas sweater would have. I didn’t really have a plan. I drew one line, and then the other, and a few dots. Do start with your accent nail first though so you can decide if you like it and do the rest the same way.
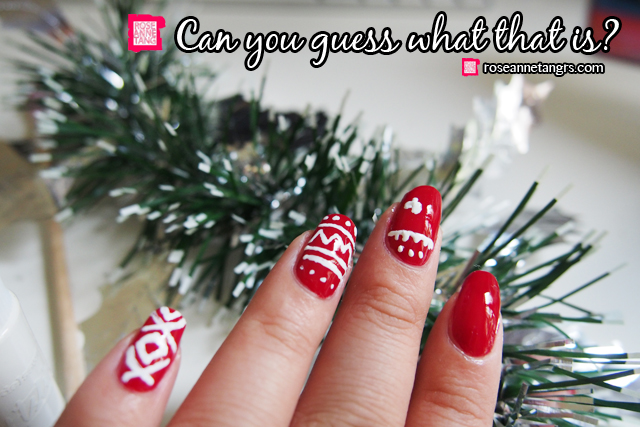
Then mix and match designs! You don’t only have to use one pattern but create more patterns.
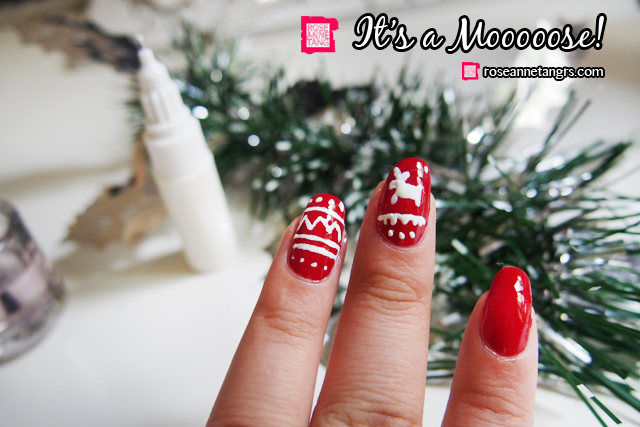
Can you guess what I’m drawing? Hehe…
It’s a moose! Well, I tried to draw a reindeer first but I ran out of space and then my pen decided to poop out too much paint so it’s a moose.
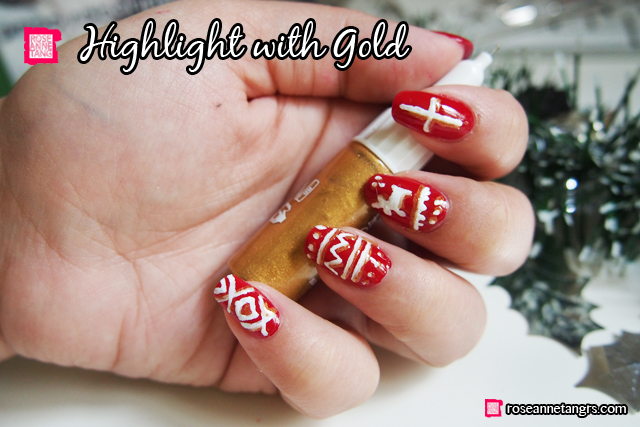
I then took the gold nail art pen and highlighted my designs with a sparkly gold! The sparkly gold is not opaque and is more of a glitter gel. I think it creates a nice dimension to the nails. When you’re done paint over all your designs with a quick dry top coat like the Seche Vite one that I use. It gives a nice mirror shine and makes it dry faster.
And you’re done! I really enjoyed using these nail art pens and can’t wait to create more designs with them. They’re so easy to use! I guess they are not that expensive either but with my holiday spending, every other part of me should be on a budget! Hope you have a happy Christmas eve! It’s Christmas tomorrow and I have a special post waiting for you guys so make sure you check back!
Much Love,
Roseanne!
