Hey Everyone,
I can’t believe it’s over in two weeks. I still remember packing my bags (albeit very last minute), hopping on a plane and getting on the tube to my very first day of school. And now, it’s already week 7! Finally attending make-up school was a big dream of mine. Even though to be honest most of my friends and family questioned what more I could learn there, I learned an immense amount. It wasn’t so much about theory, but the experience of applying make-up on people day in day out and being professional about it is what helped! In fact, applying make-up on someone else is totally different than applying make-up on yourself, plus you learn the real professional way of doing things and you get told off by someone who’s been doing it for 20 years. Here are my top lessons, tips and tricks (whatever you want to call them) from school that I never knew how to do before. Plus, I’ve sprinkled images of some of my work throughout the post as well!
1. Curling Someone Else’s Lashes
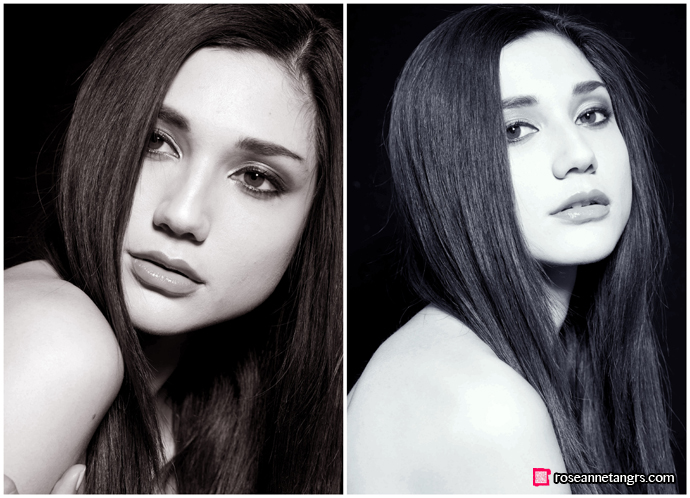
Whenever I had to curl somebody’s lashes before, I always willingly handed them the eyelash curler. Now, with more practice of course, I’m able to do it myself. If you want to do it on someone else, simply tell them to “half-open” their eyes. Then, tuck the eye-lash curler underneath and semi close down and ask “Does it feel okay?”. With a “yes”, then you can proceed to clamp down on the lashes. Wait a 10 – 30 seconds and release for curled lashes. Also, remember that when applying mascara, you always need to apply your mascara on a disposable mascara wand and not apply straight from the tube! Mascara is notorious for little germs.
( Black & White x Tint – Model: Amelia | Photographer: Sandro Hyams| Make-Up: Roseanne Tang)
2. Lipliner is now a must-have
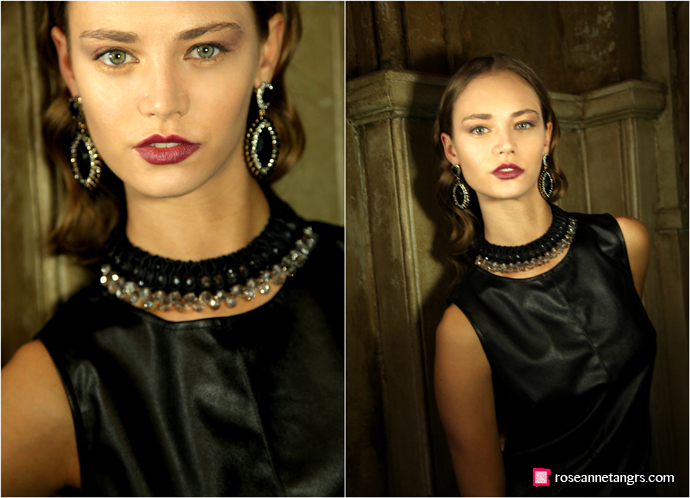
I never understood lip liner before coming here. If I outline the lips, it looks too theatrical. If I fill it in with lip liner, what’s the point, I’m applying lipstick anyway. I just couldn’t be bothered. But seriously with every look I’ve done over the past months, I’ve had to use a lipliner. It’s a must-have to make those really sharp and intense lip looks and it has been difficult but after doing it so many times, I finally got the hang of it. The trick to lip liner isn’t to press hard and draw it out like an eyeliner, but to very lightly trace the line of your lips – the lightest, slightest line will appear and that’s the line you want because you don’t want to go to heavy. You can also ask your model to stretch the bottom lip by half smiling so it’s easier for you to draw. Then, fill in the lips completely by using the side of the pencil to shade in the lips. We almost never leave the lip not filled up after applying liner.
( Classic Glamour – Model: Emma | Photographer: Shooting Beauty| Make-Up: Roseanne Tang)
3. Moisturise Please
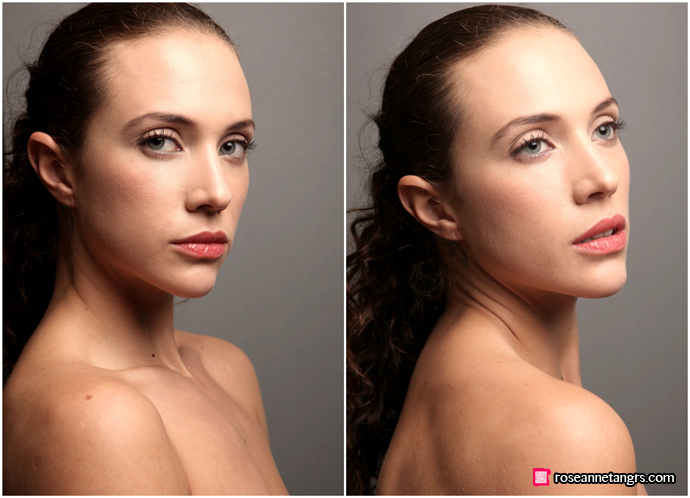
I remember applying foundation beforehand on dry skin. It would cake up and look like a complete mess. Little did I know how important skin prep is before make-up application and we’re not just talking primers. My cleanser of choice is a cream cleanser. I cleanse even if there’s no make-up with a special massage technique and grabbing moistened cotton disks to wipe away the cleanser after. I then tone and remember to pat away the toner after I sweep the face with a folded up tissue so the skin doesn’t feel tight. Then of course moisturiser. I have two moisturisers in my kit, a lotion for people who don’t need moisturiser and a more heavy duty one – both E45. Even if they don’t need it, I will still moisturise before the make-up so that it’s a smoother application. For nasty dry spots, you need the heavy duty one. I say moisturise until you feel the skin is soft and supple to the touch. If that’s good, then you’re ready for make-up. I’ve been wanting to get the Rosebud Salve as well. Apply it to the flaky bits, do the eyes first, and the flaky bits will drop off naturally. Then apply the foundation.
( Beauty Shot – Model: Stephanie | Photographer: Shooting Beauty| Make-Up: Roseanne Tang)
I think everyone can do make-up self taught for sure. I know I did for three years, but I guess you’ll never really learn about the small things until you’ve done a few months at a school. What’s hygienic, what’s not, how to prepare your kit and table, how to direct your model so that applying make-up is easier and safer for both of you.
But, I guess the most major lesson I’ve learnt is that man, I really love putting make-up on people. After doing a shoot a few weeks ago for six hours straight on like 20 models, I realised I didn’t feel tired and I think I very well enjoyed myself too much. I only hope I can get a move on a decent make-up artist career back in Singapore. You want your make-up done, holla!
We’re now learning to do HAIR – something that I have absolutely no experience in but I’m getting the hang of it already. I can’t wait to do all the updos, curls and plaits!
xx Roseanne
