Hey Everyone,
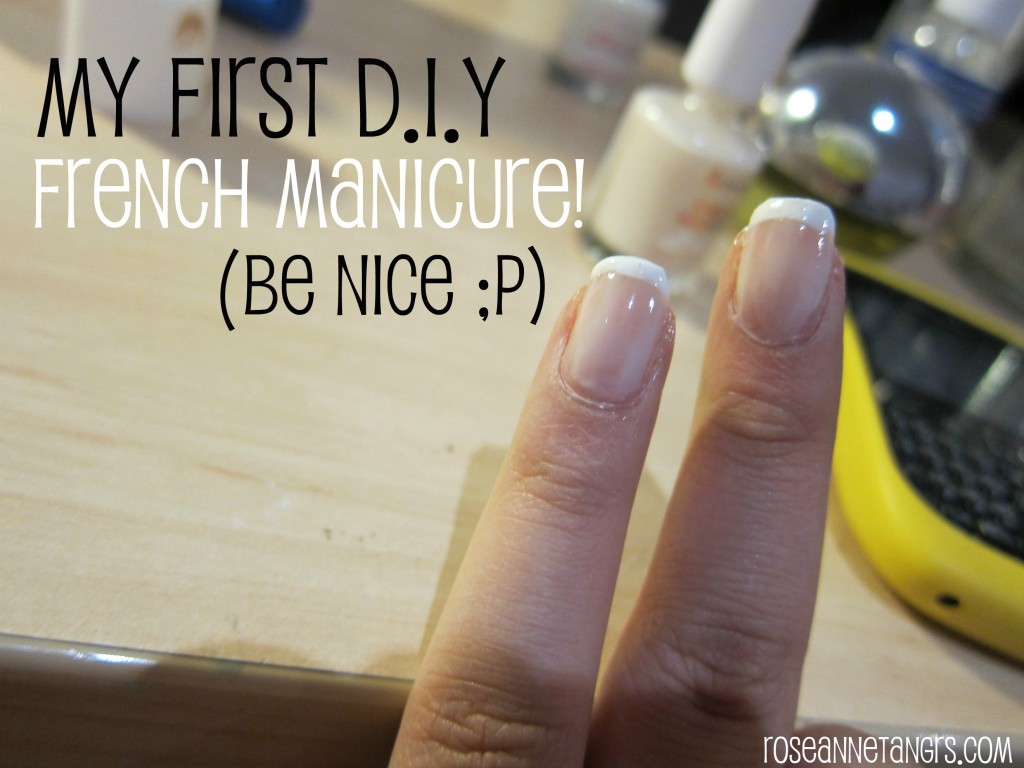
The french manicure will always be a classic. It’s clean, sophisticated and matches pretty much every outfit but it can be pretty pricey at your local nail salon – they usually add ten to fifteen dollars extra on top of your classic manicure bill. So hey, why not do it yourself? Today I’m going to show you my first attempt at a french manicure, free hand. I’m warning you, I haven’t done nail school so don’t laugh if things get crooked but hey, practice makes perfect. Plus, if my nails look yellow, it’s because I decided to do this at 1 in the morning under my yellow desk lamp. Whoops! Let’s go!
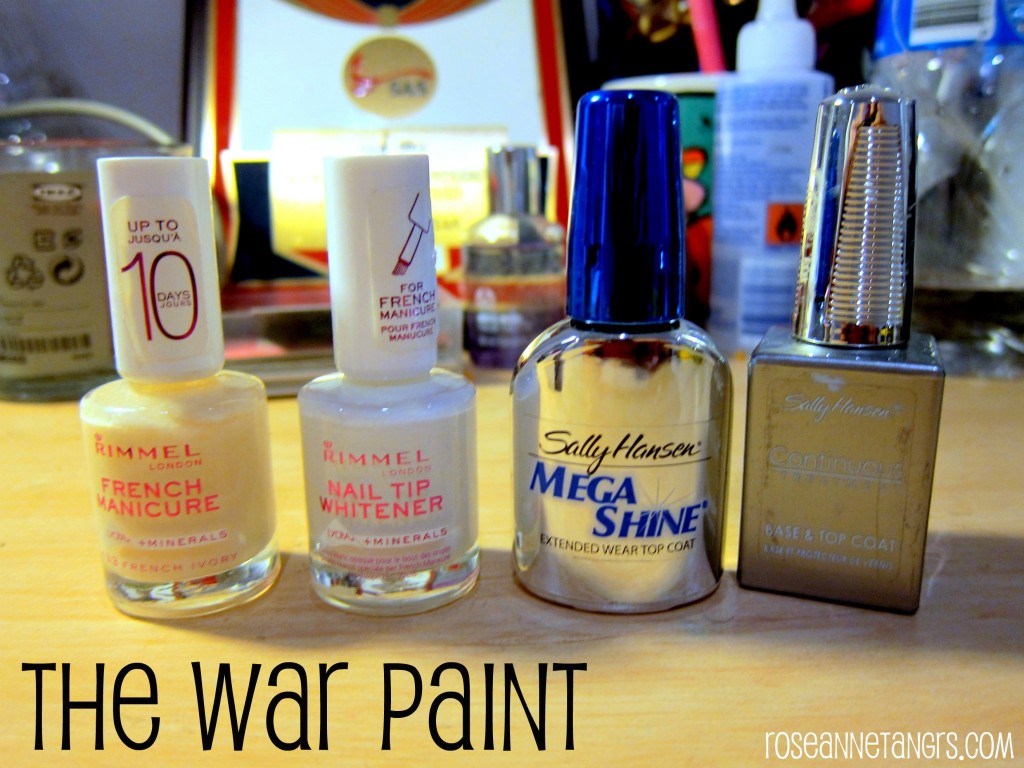
Here are the tools of the trade! I got this Rimmel French Manicure paints from Priceline on sale but really, any white cream nail polish and sheer skin color polish will do. Don’t forget your base and top coats too!
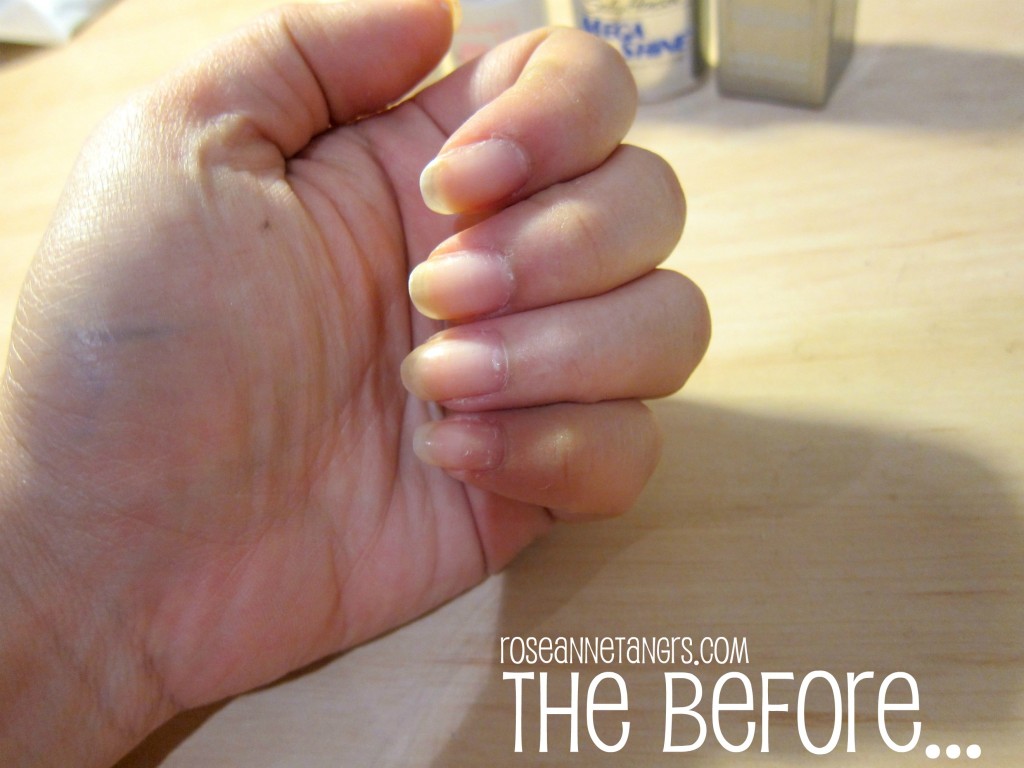
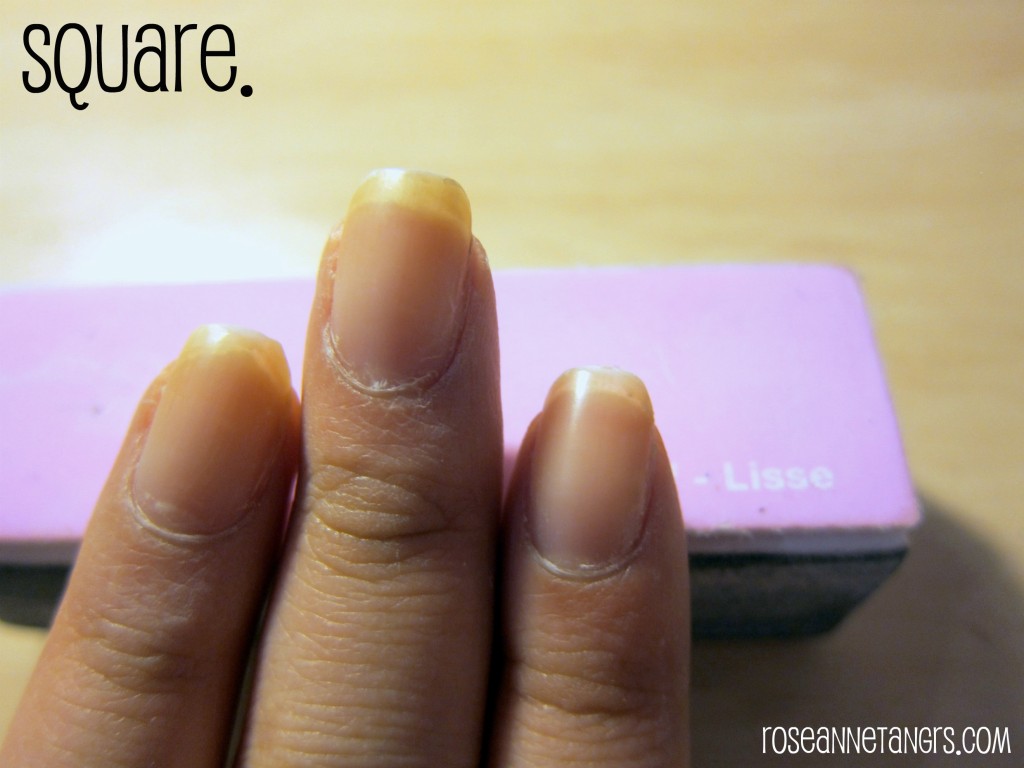
Here are my bare nails – un-cut, un-filed, un-squared. Pretty boring
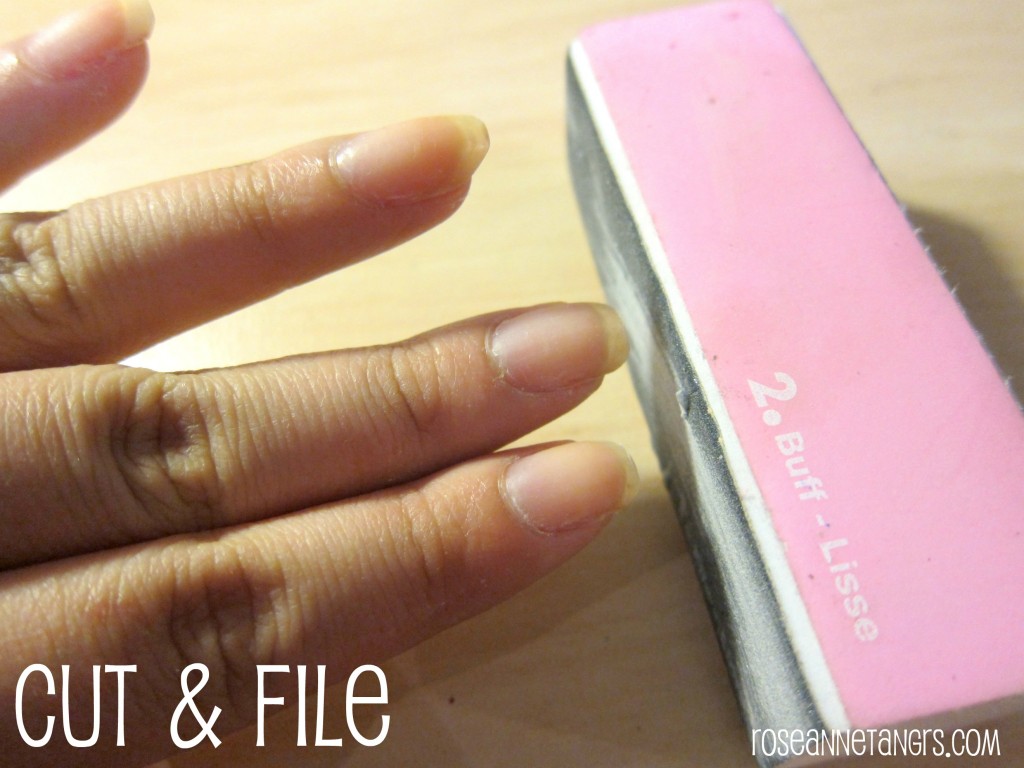
The first thing you have to do is cut and square them. Refer to my How To Paint Your Nail Post for full details on how I do this. Basically, I cut my nails straight across and then I use a 4 way buffer (best thing ever) to file across and then a little bit on the edge to keep the square shape.
I then continue with the rest of the steps on the buffer for gleaming nails.
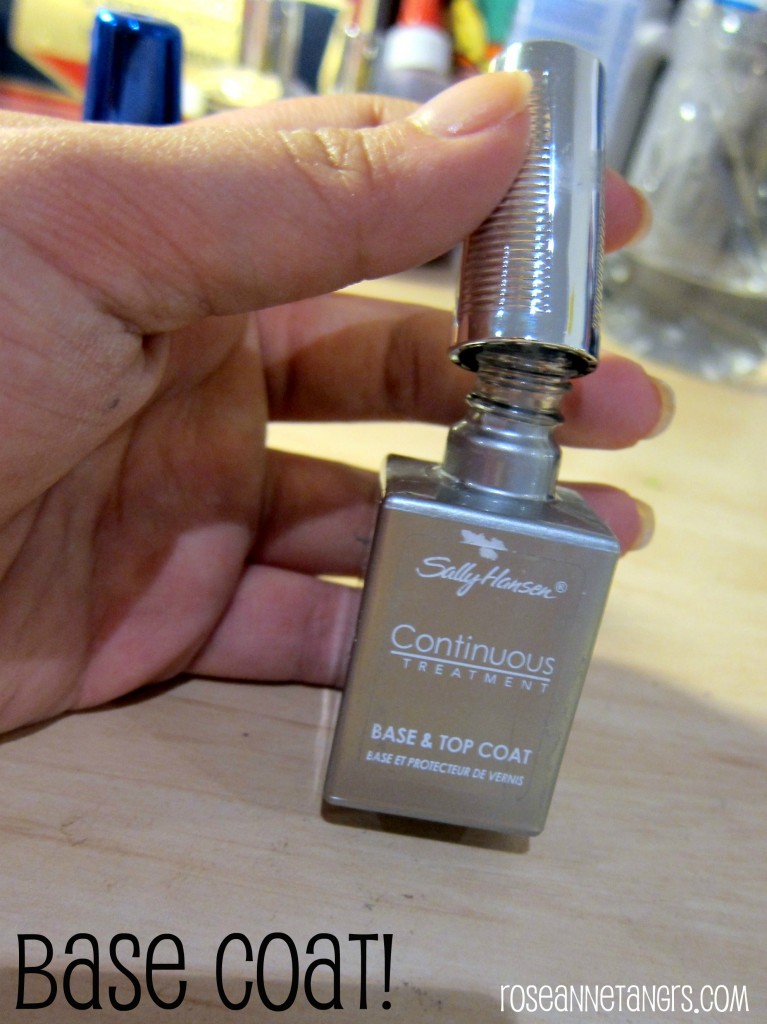
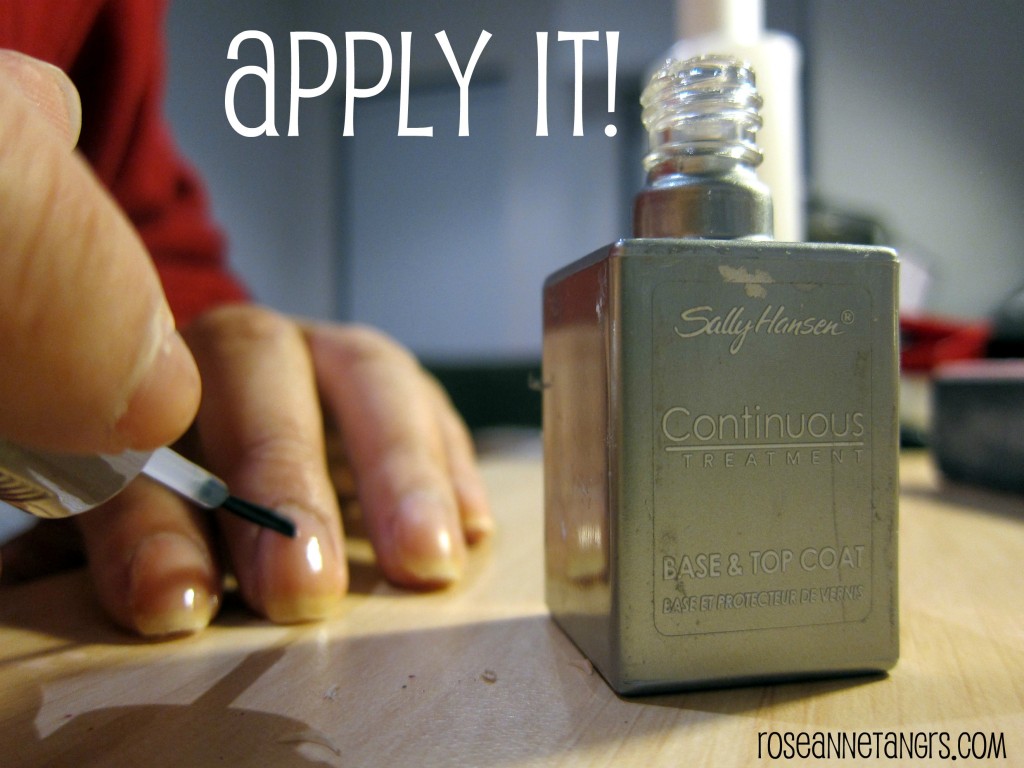
It’s always important to add a base coat because this prevents your nails from getting nail polish stains especially from dark tone nail polishes. I’m using the Sally Hansen Base & Top Coat!
Overall, it’s like putting a face primer before your foundation.
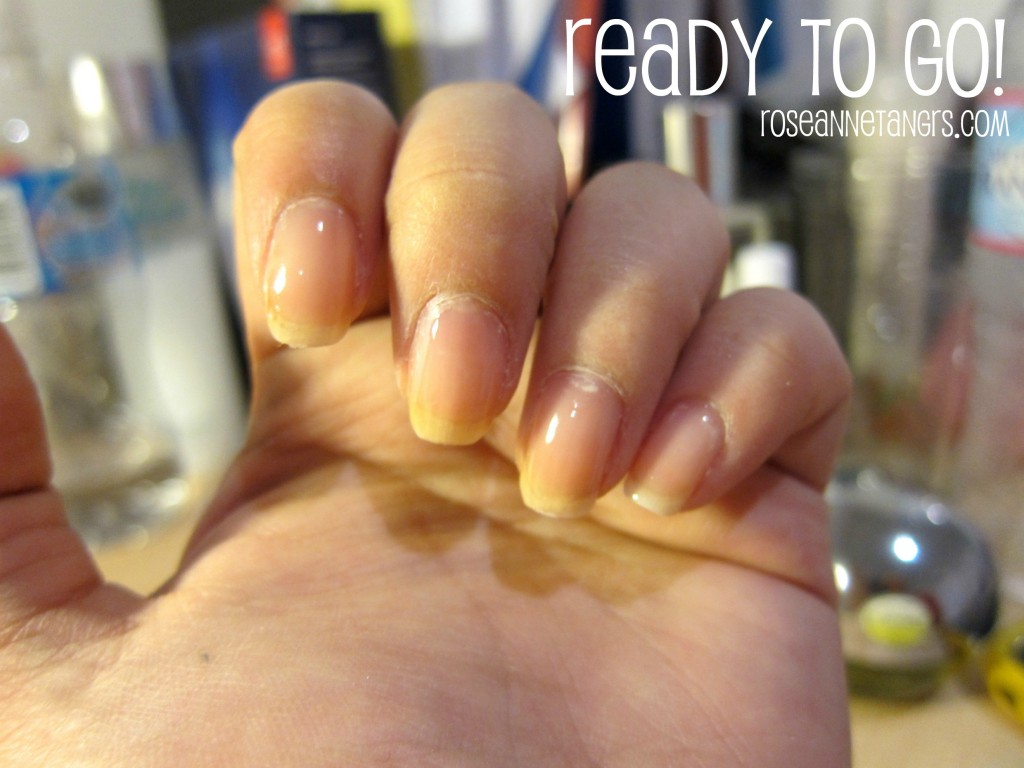
All good to go for the paint!
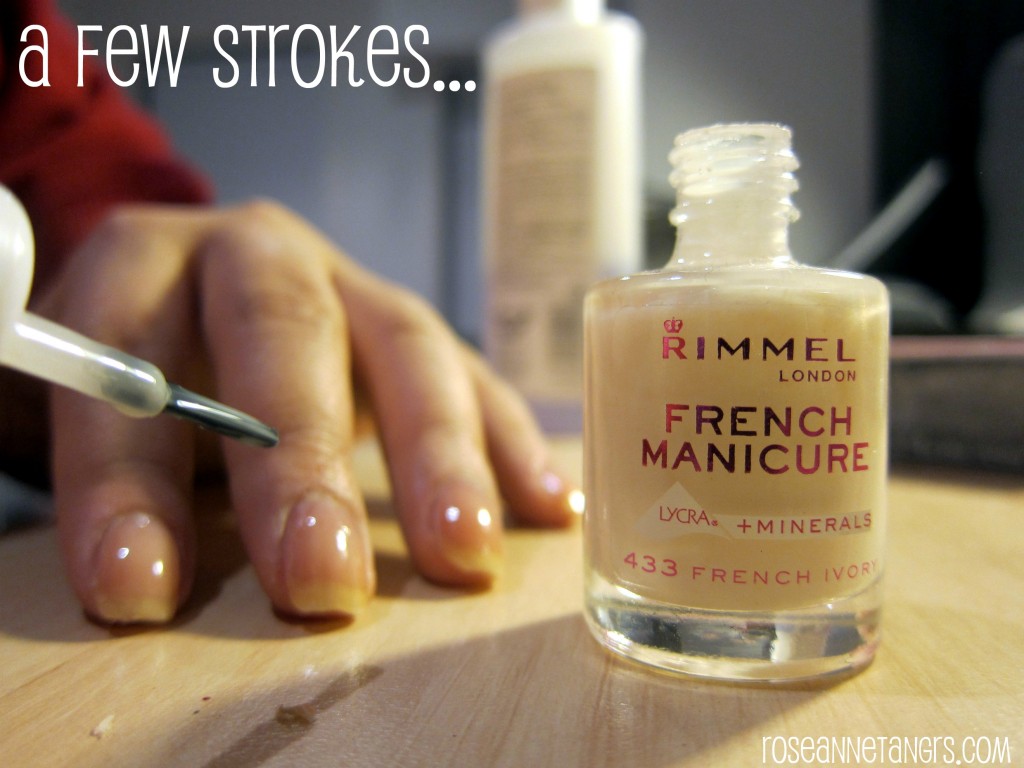
Apply your first layer first of the French Ivory Rimmel Paint or whatever nail polish you have chosen
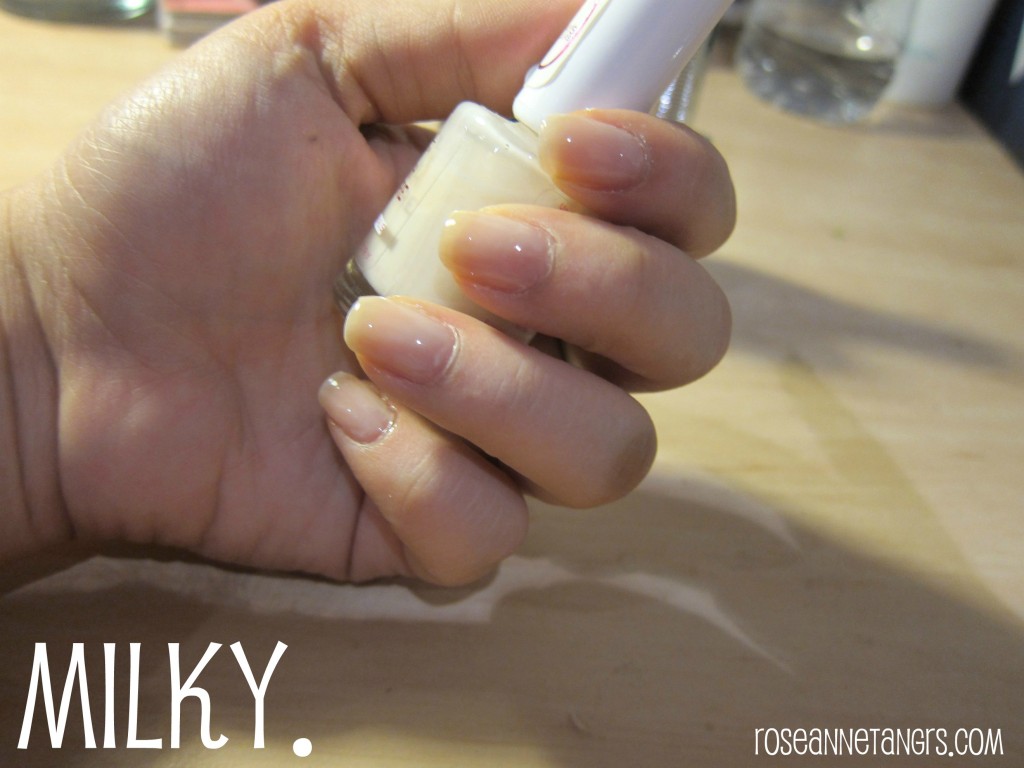
You then get the classic white milky finish
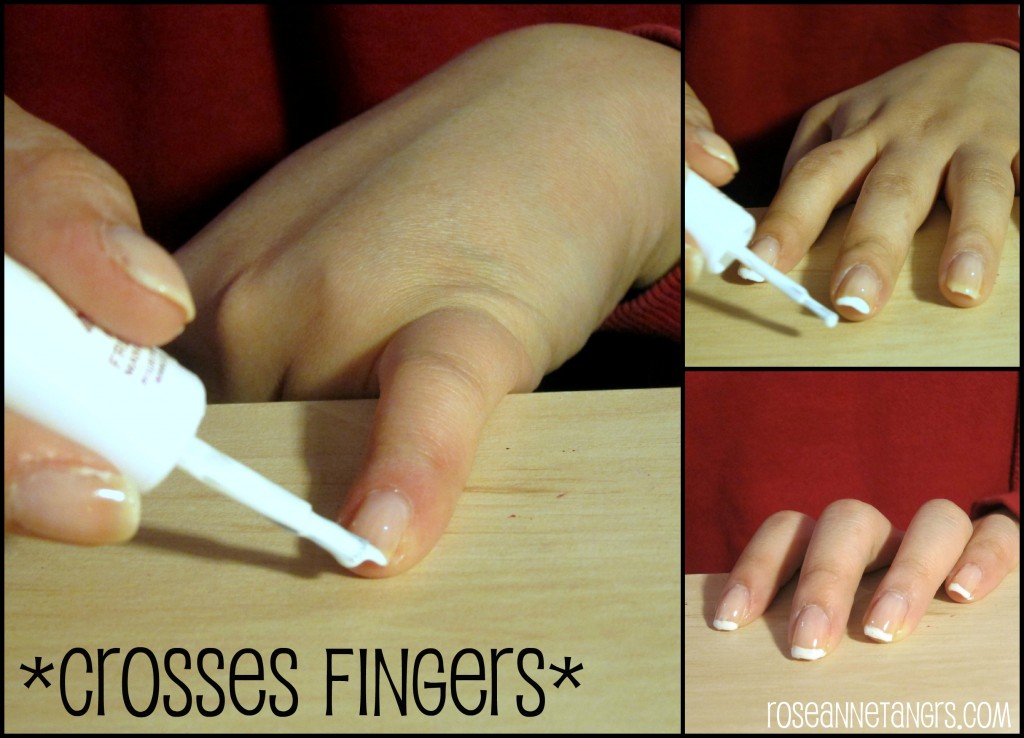
Then, it’s time for the hard part. Apply your strip of white to the tops of your nails. Of course there are actually tons of ways to do this. You could go out and buy the manicare tapes which I have done before. Make sure the nail polish is extremely dry before you take the tape off or you could be too cool for school like me and do it free-hand. Now the the trick to this is to put one finger on the table top and then alight your brush to the side so that it is parallel to the edge of your nail. Then sweep from left to right towards you. This is the quickest, no mess way. Painting it with the tip of the brush facing the nail does not work by the way. It will create an uneven line. The trick is to sweep from left to right in one motion.
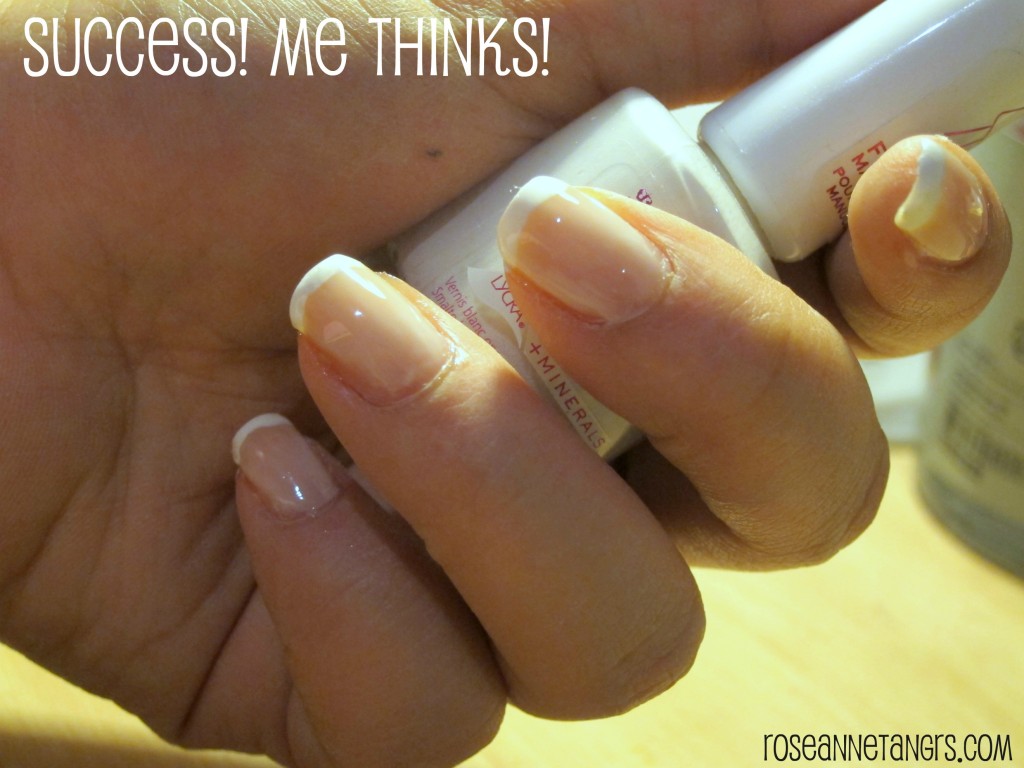
Then apply your top coat and you are finished! Not bad for my very first time doing it freehand right?
Hope you liked this post!
Do you have any nail tips to share?
P.S: You don’t have to sign in to anything to leave a comment anymore! I’d love to hear back from you!
Love,
Roseanne
